Create - Livestream Manager
This section covers instructions on creating a live stream using the Eluvio Livestream Manager.
Instructions
- Navigate to the Eluvio Core Apps page using the following address https://contentfabric.io/apps
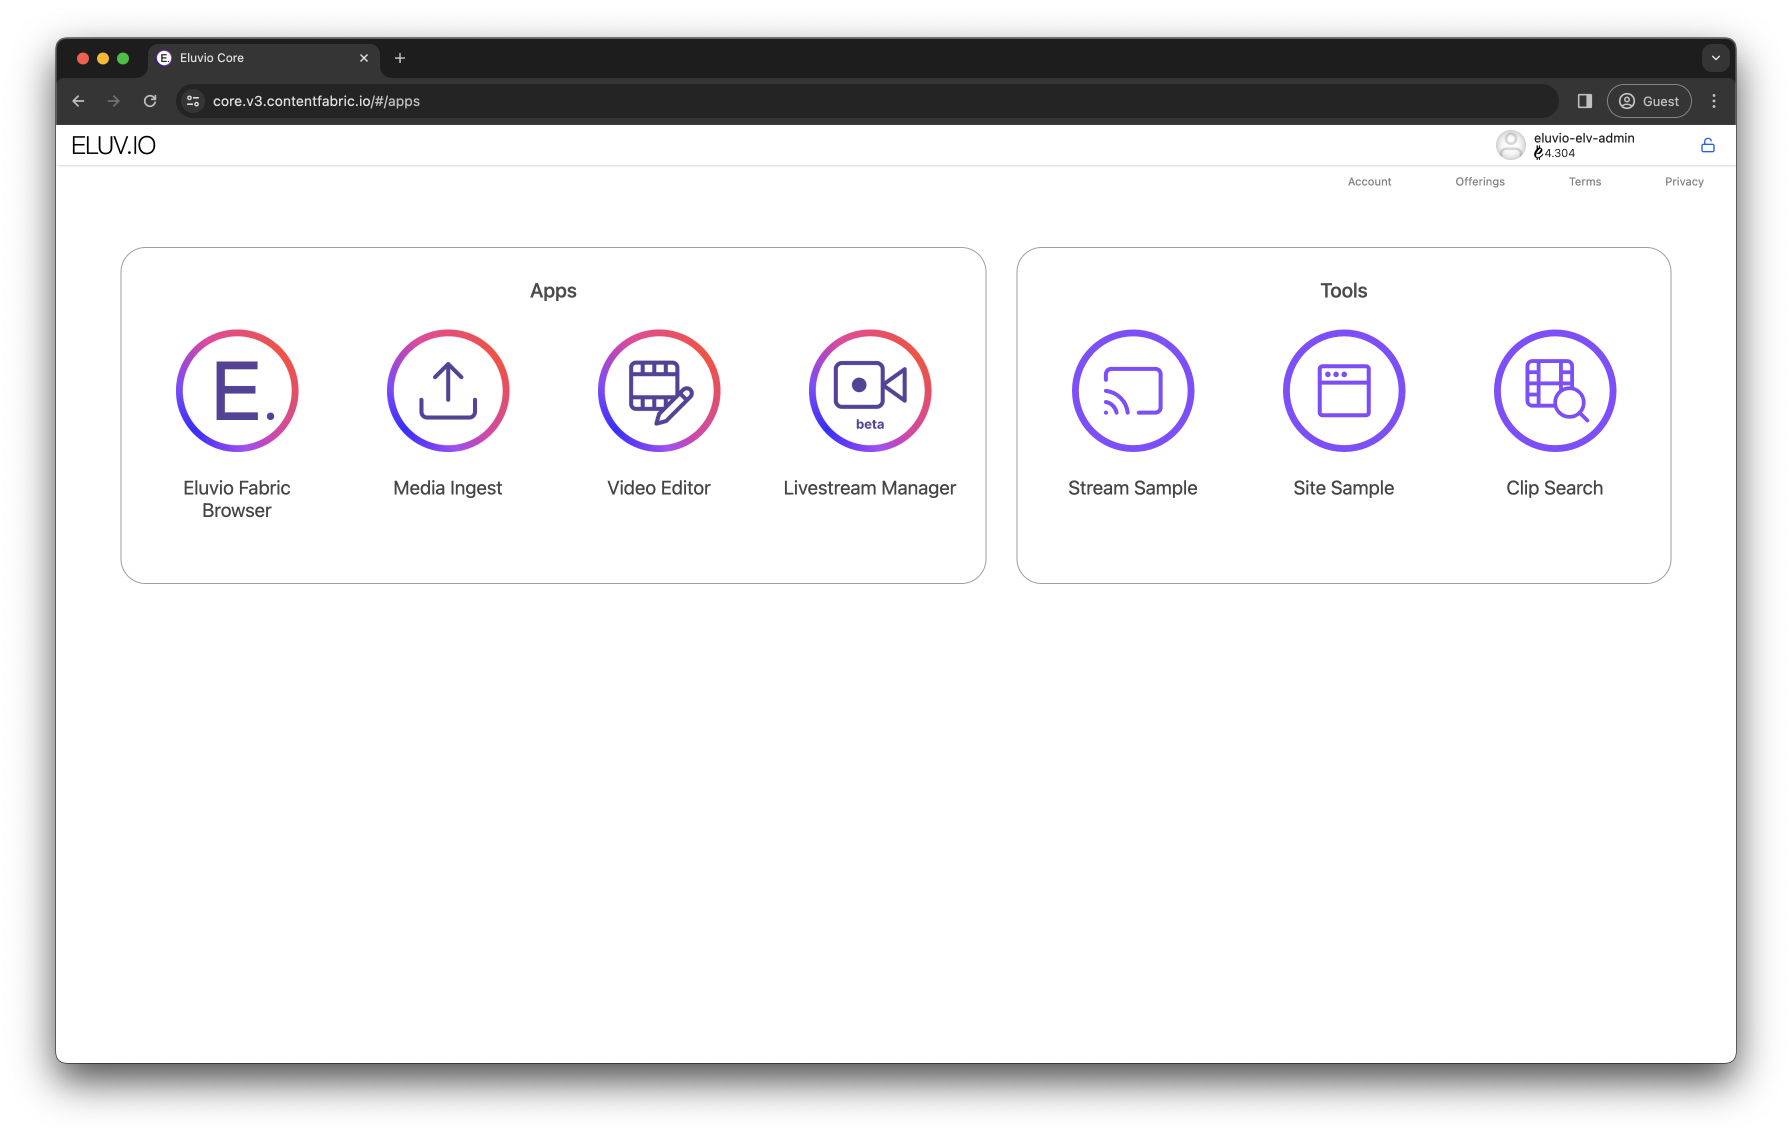
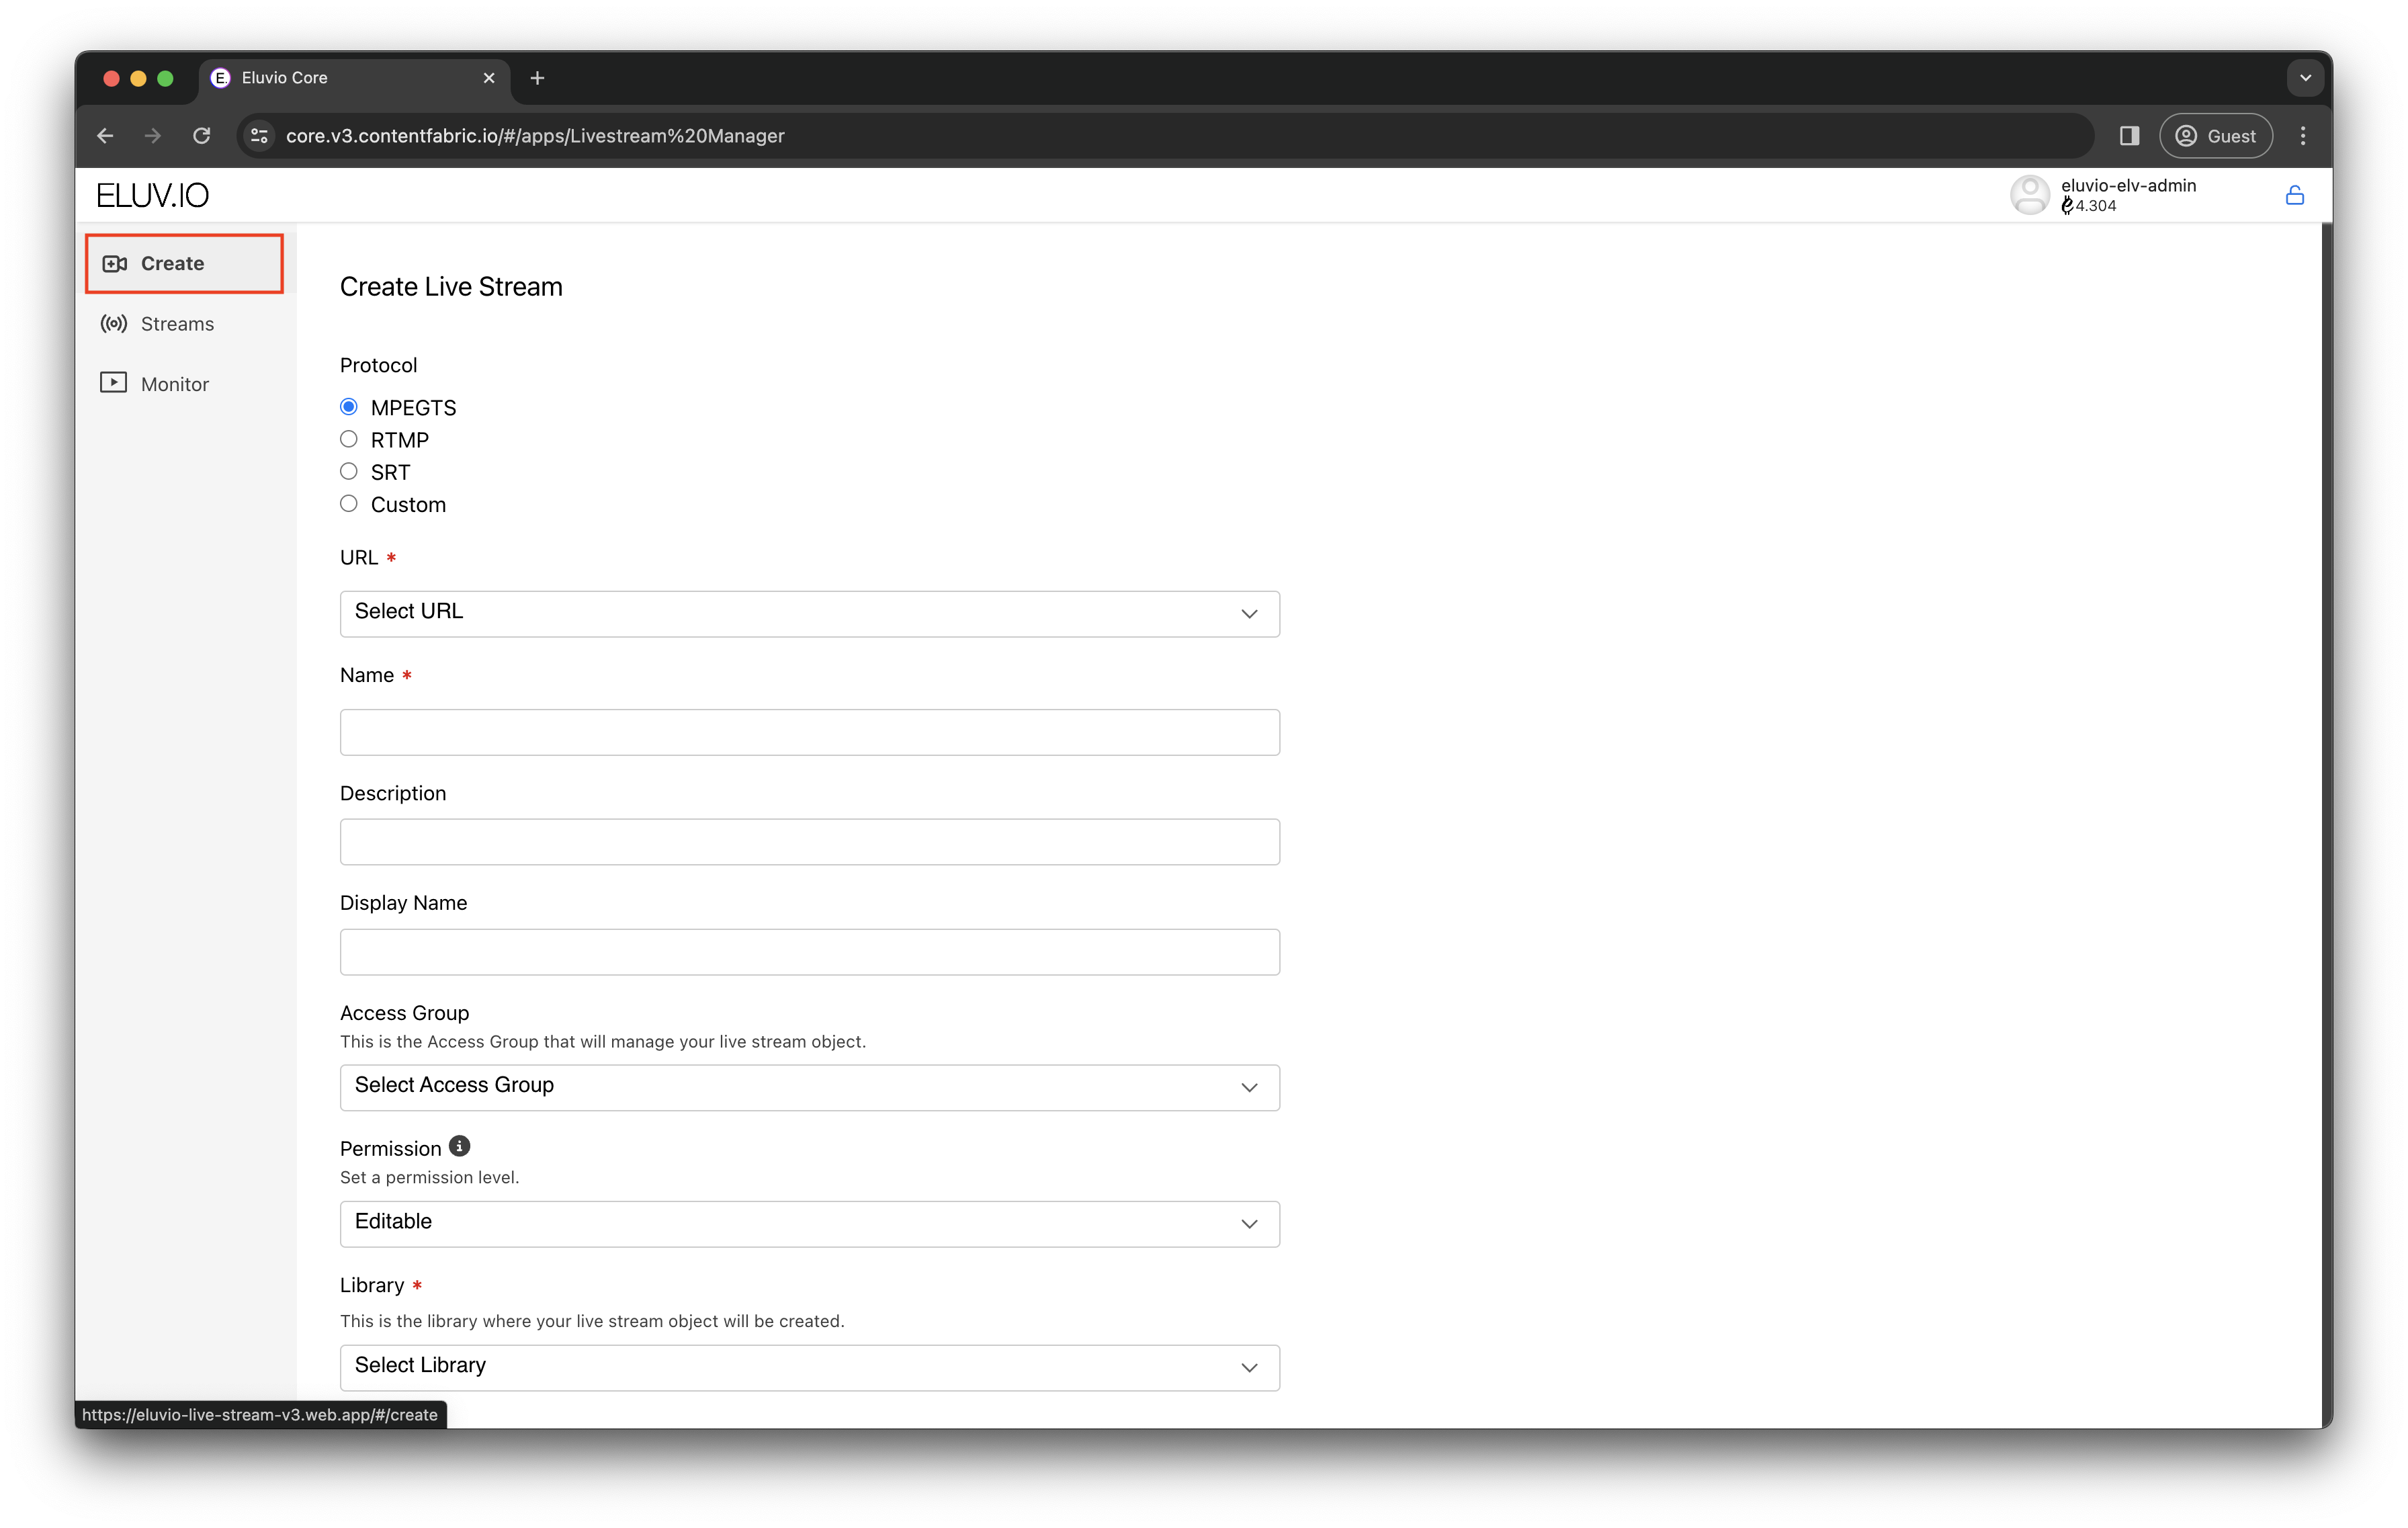
- Click on the “Livestream Manager” icon. You will be prompted to select and unlock your account. Upon successful login you will be taken the Live Stream Manager App. Click on “Create” to get started.
-
Enter the following details on the Creation Form:
- URL: Use one of the RTMP, UDP or SRT ingest URLs assigned to your tenancy. This is the ingest URL your stream will be sent to. This setting is required.
- Name: Give your stream a name of your choosing. This name will appear when browsing on the Fabric Browser App when browsing through Libraries. This setting is required.
- Description: Give your stream a description. This name will appear when browsing on the Fabric Browser App.
- Display Name: Give your stream a Display Name of your choosing. This name will appear on user facing applications such as our Eluvio Embed Player.
- Access Group: Select a group that will have permissions to manage the stream object. Content Admins is a typical access group for getting started.
- Permission: Select a permissions level to access the stream.
- Library: Select a library where the stream object will be created. Eluvio recommends using the Live Stream library. If a Live Stream library does not exist you can also use the Title Mezzanines library. This setting is required.
- Advanced Settings: These can be left as default.
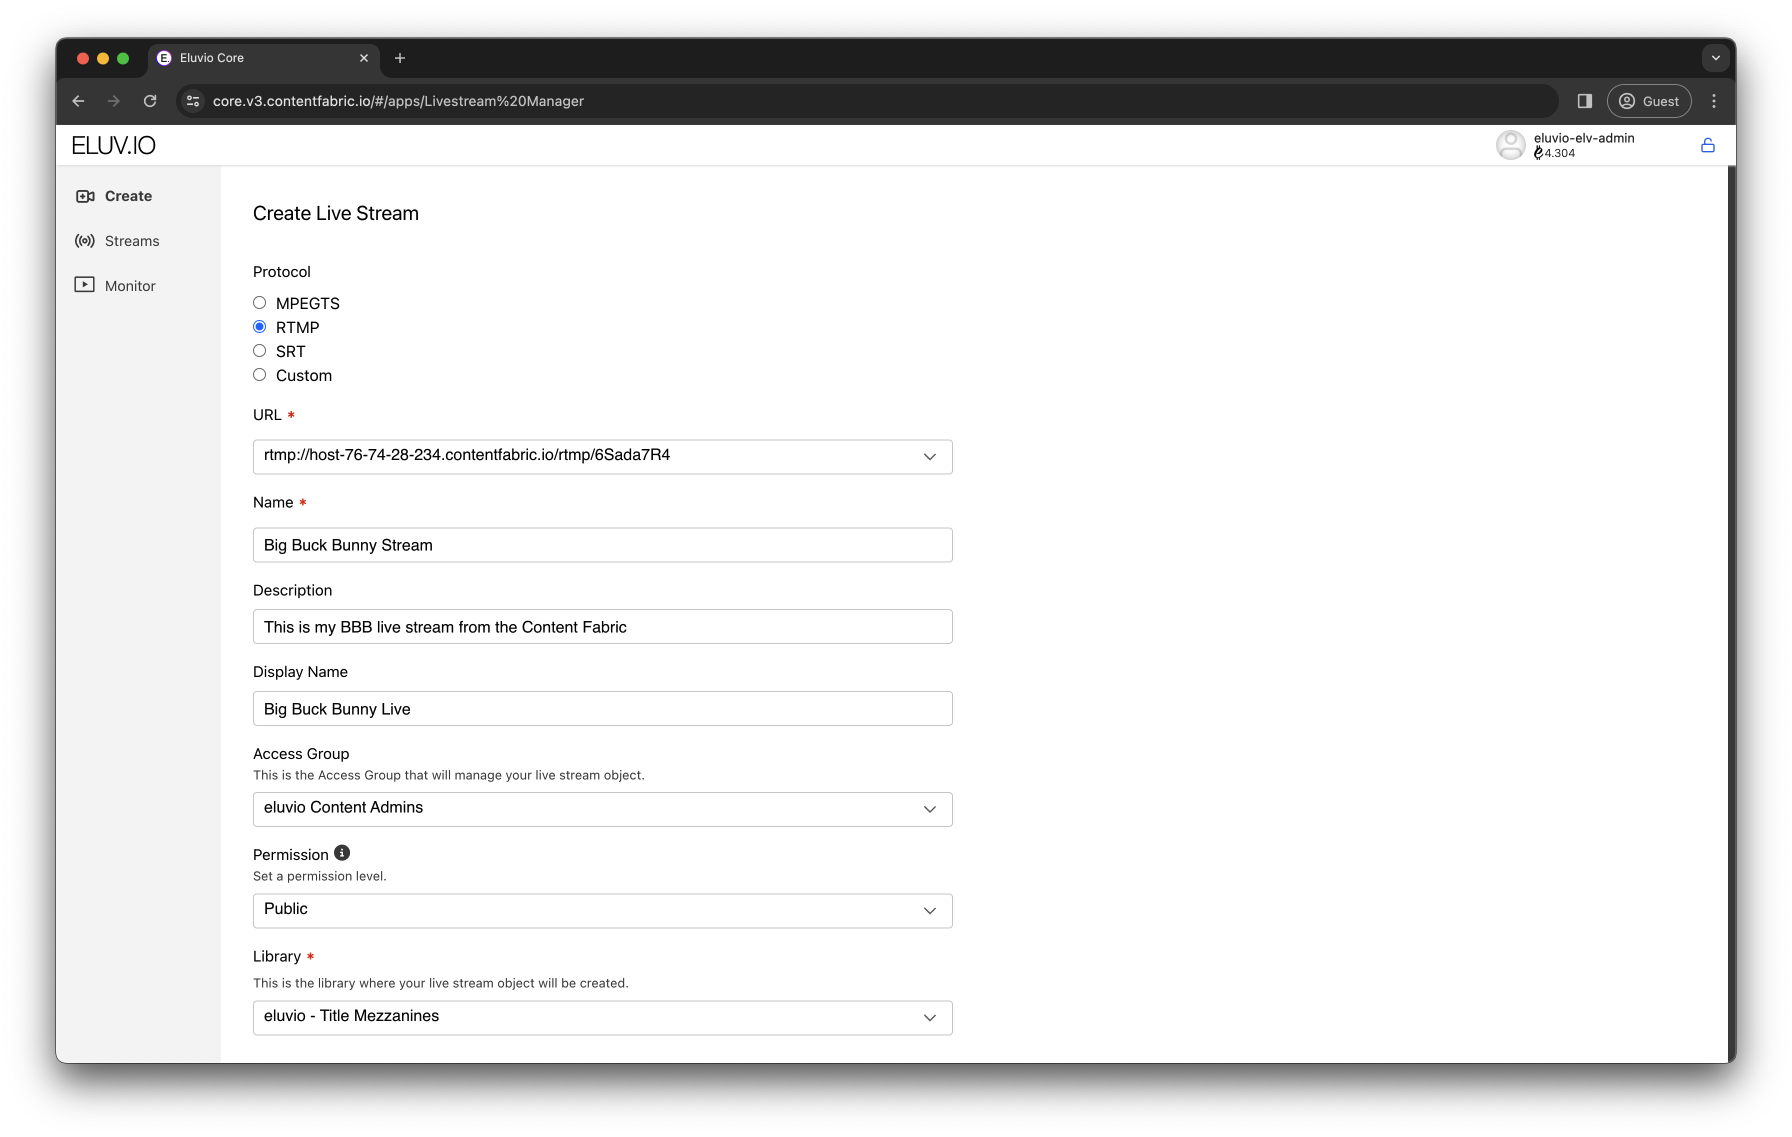
- Create the stream once all the required values are present (URL, Name, Library)
Below is an example of what this form filled out.
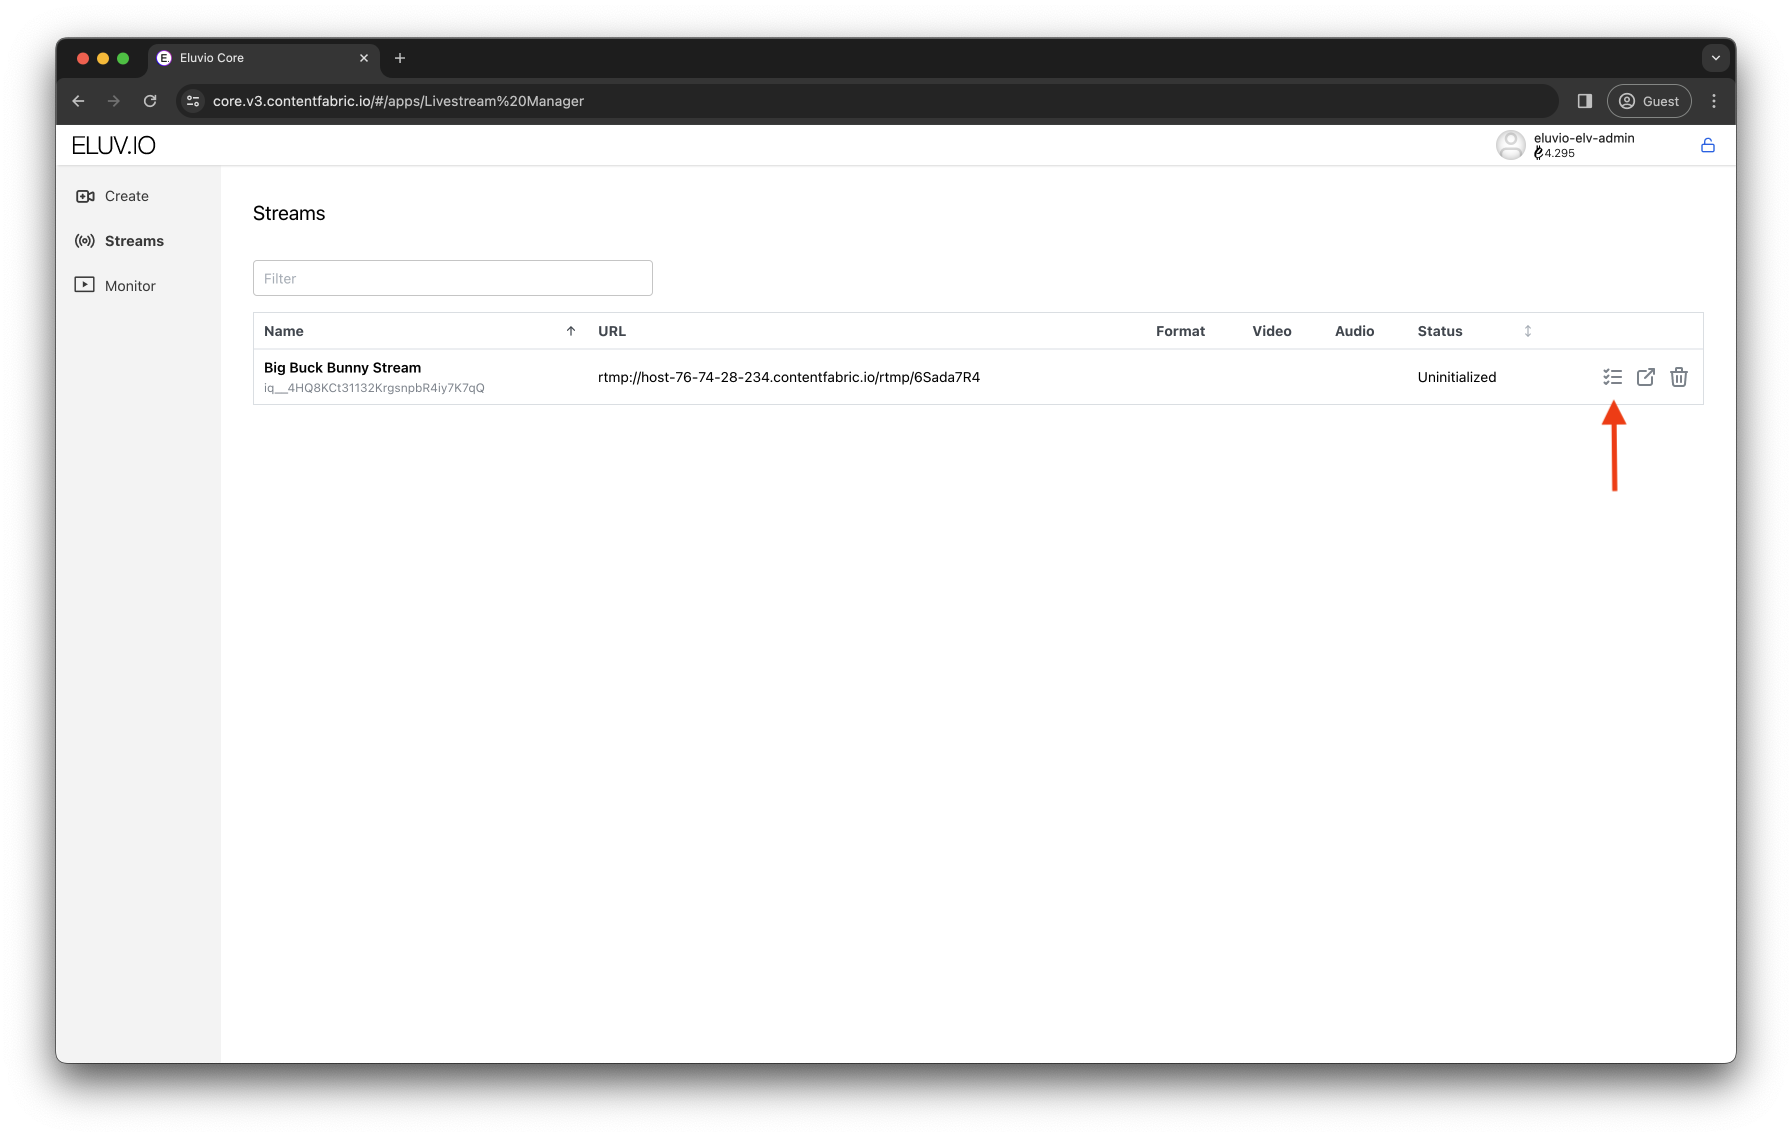
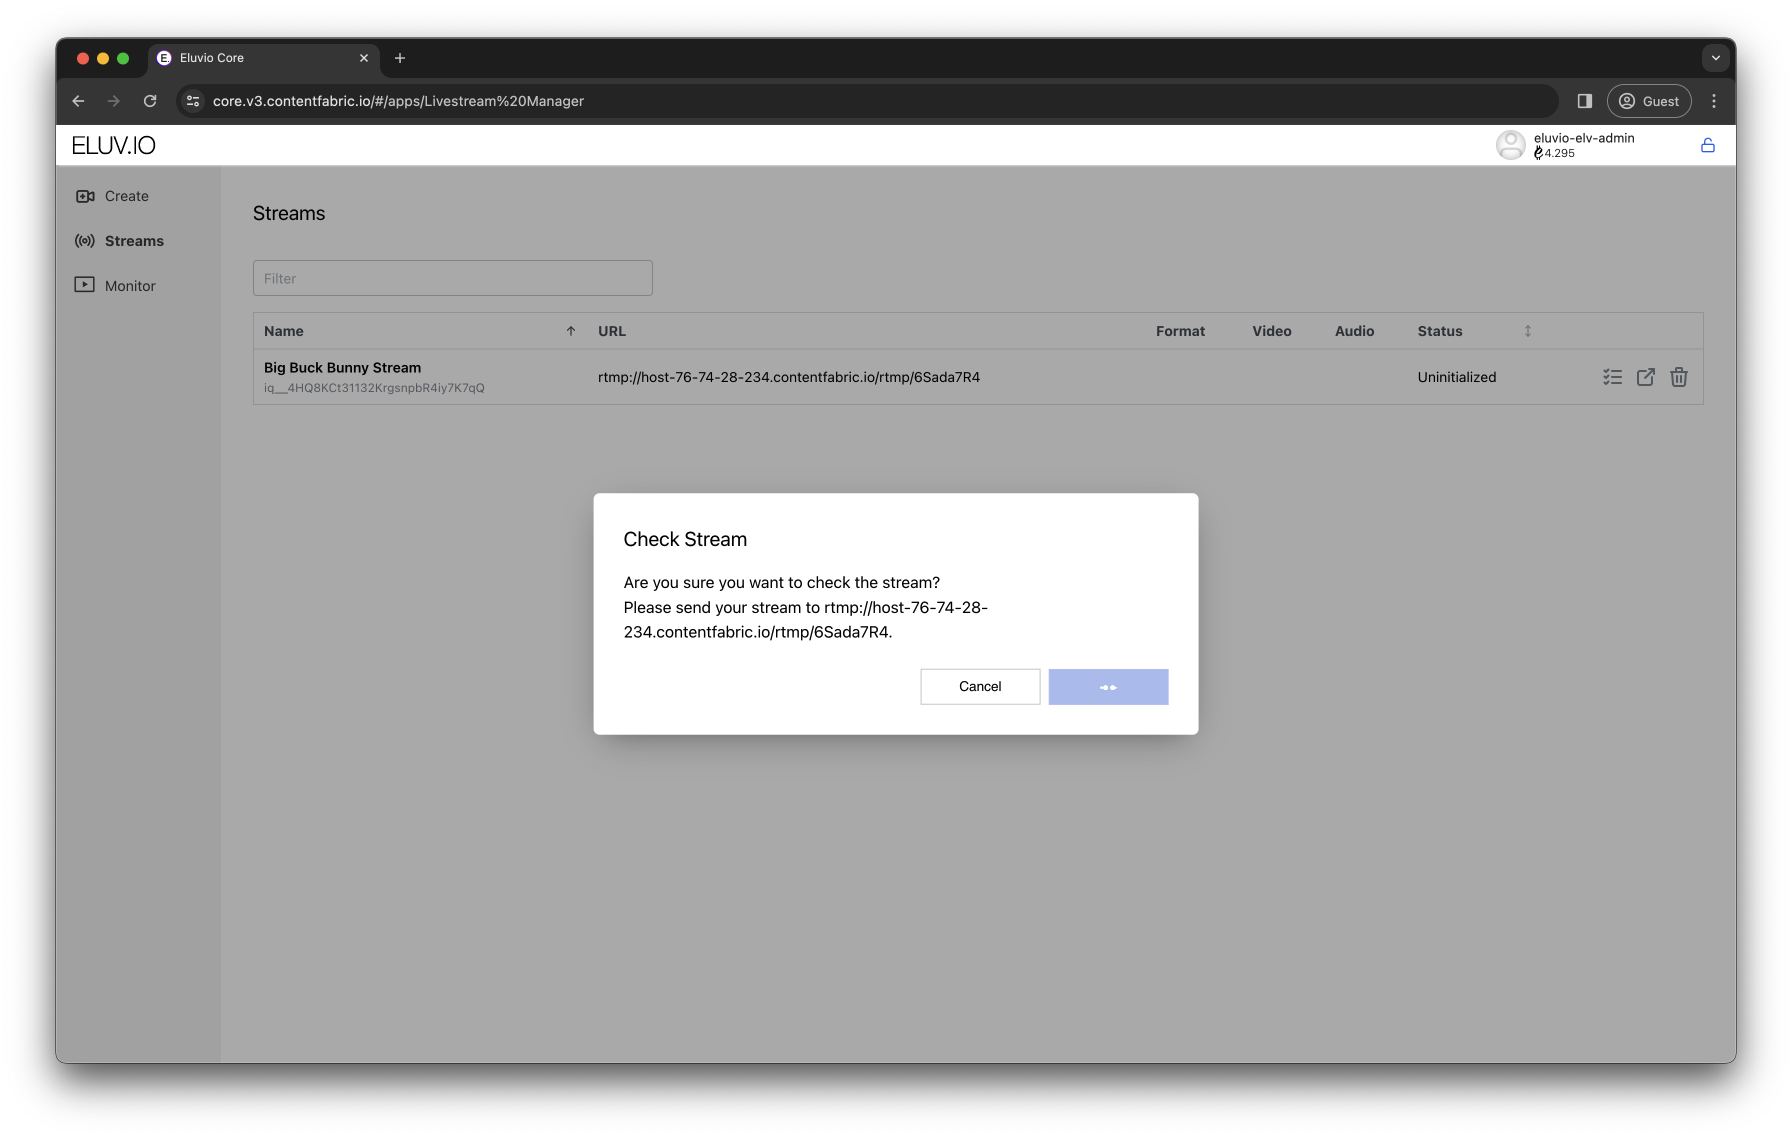
- Upon creation you will be taken to the Streams page. On the list of streams you will see your newly created stream in an “Uninitialized” state. To configure the stream click on the “check list” icon and confirm the “Check Stream” dialog.
- After clicking OK on the “Check Stream” dialog, send your source stream to the ingest URL. The dialog will update informing you to perform this action as well. During this process our server will take a sample of your stream to configure the stream object. NOTICE: If you are using RTMP or SRT listener mode, you will notice your client will successfully connect for a couple seconds then disconnect, this is expected.
-
Upon success your stream will update with an “Inactive” status. This means the stream object has been auto-configured and is ready to be received. Click on the play button to start the stream listener and confirm the “Start Stream” modal. Your Stream will update to the “Starting” status.


-
With your stream in the “Starting” status, send your source to the ingest URL. Your stream should update to the “Running” status within a minute. Upon Reaching the “Running” status your stream should now be viewable, click on the TV icon to view the stream.

-
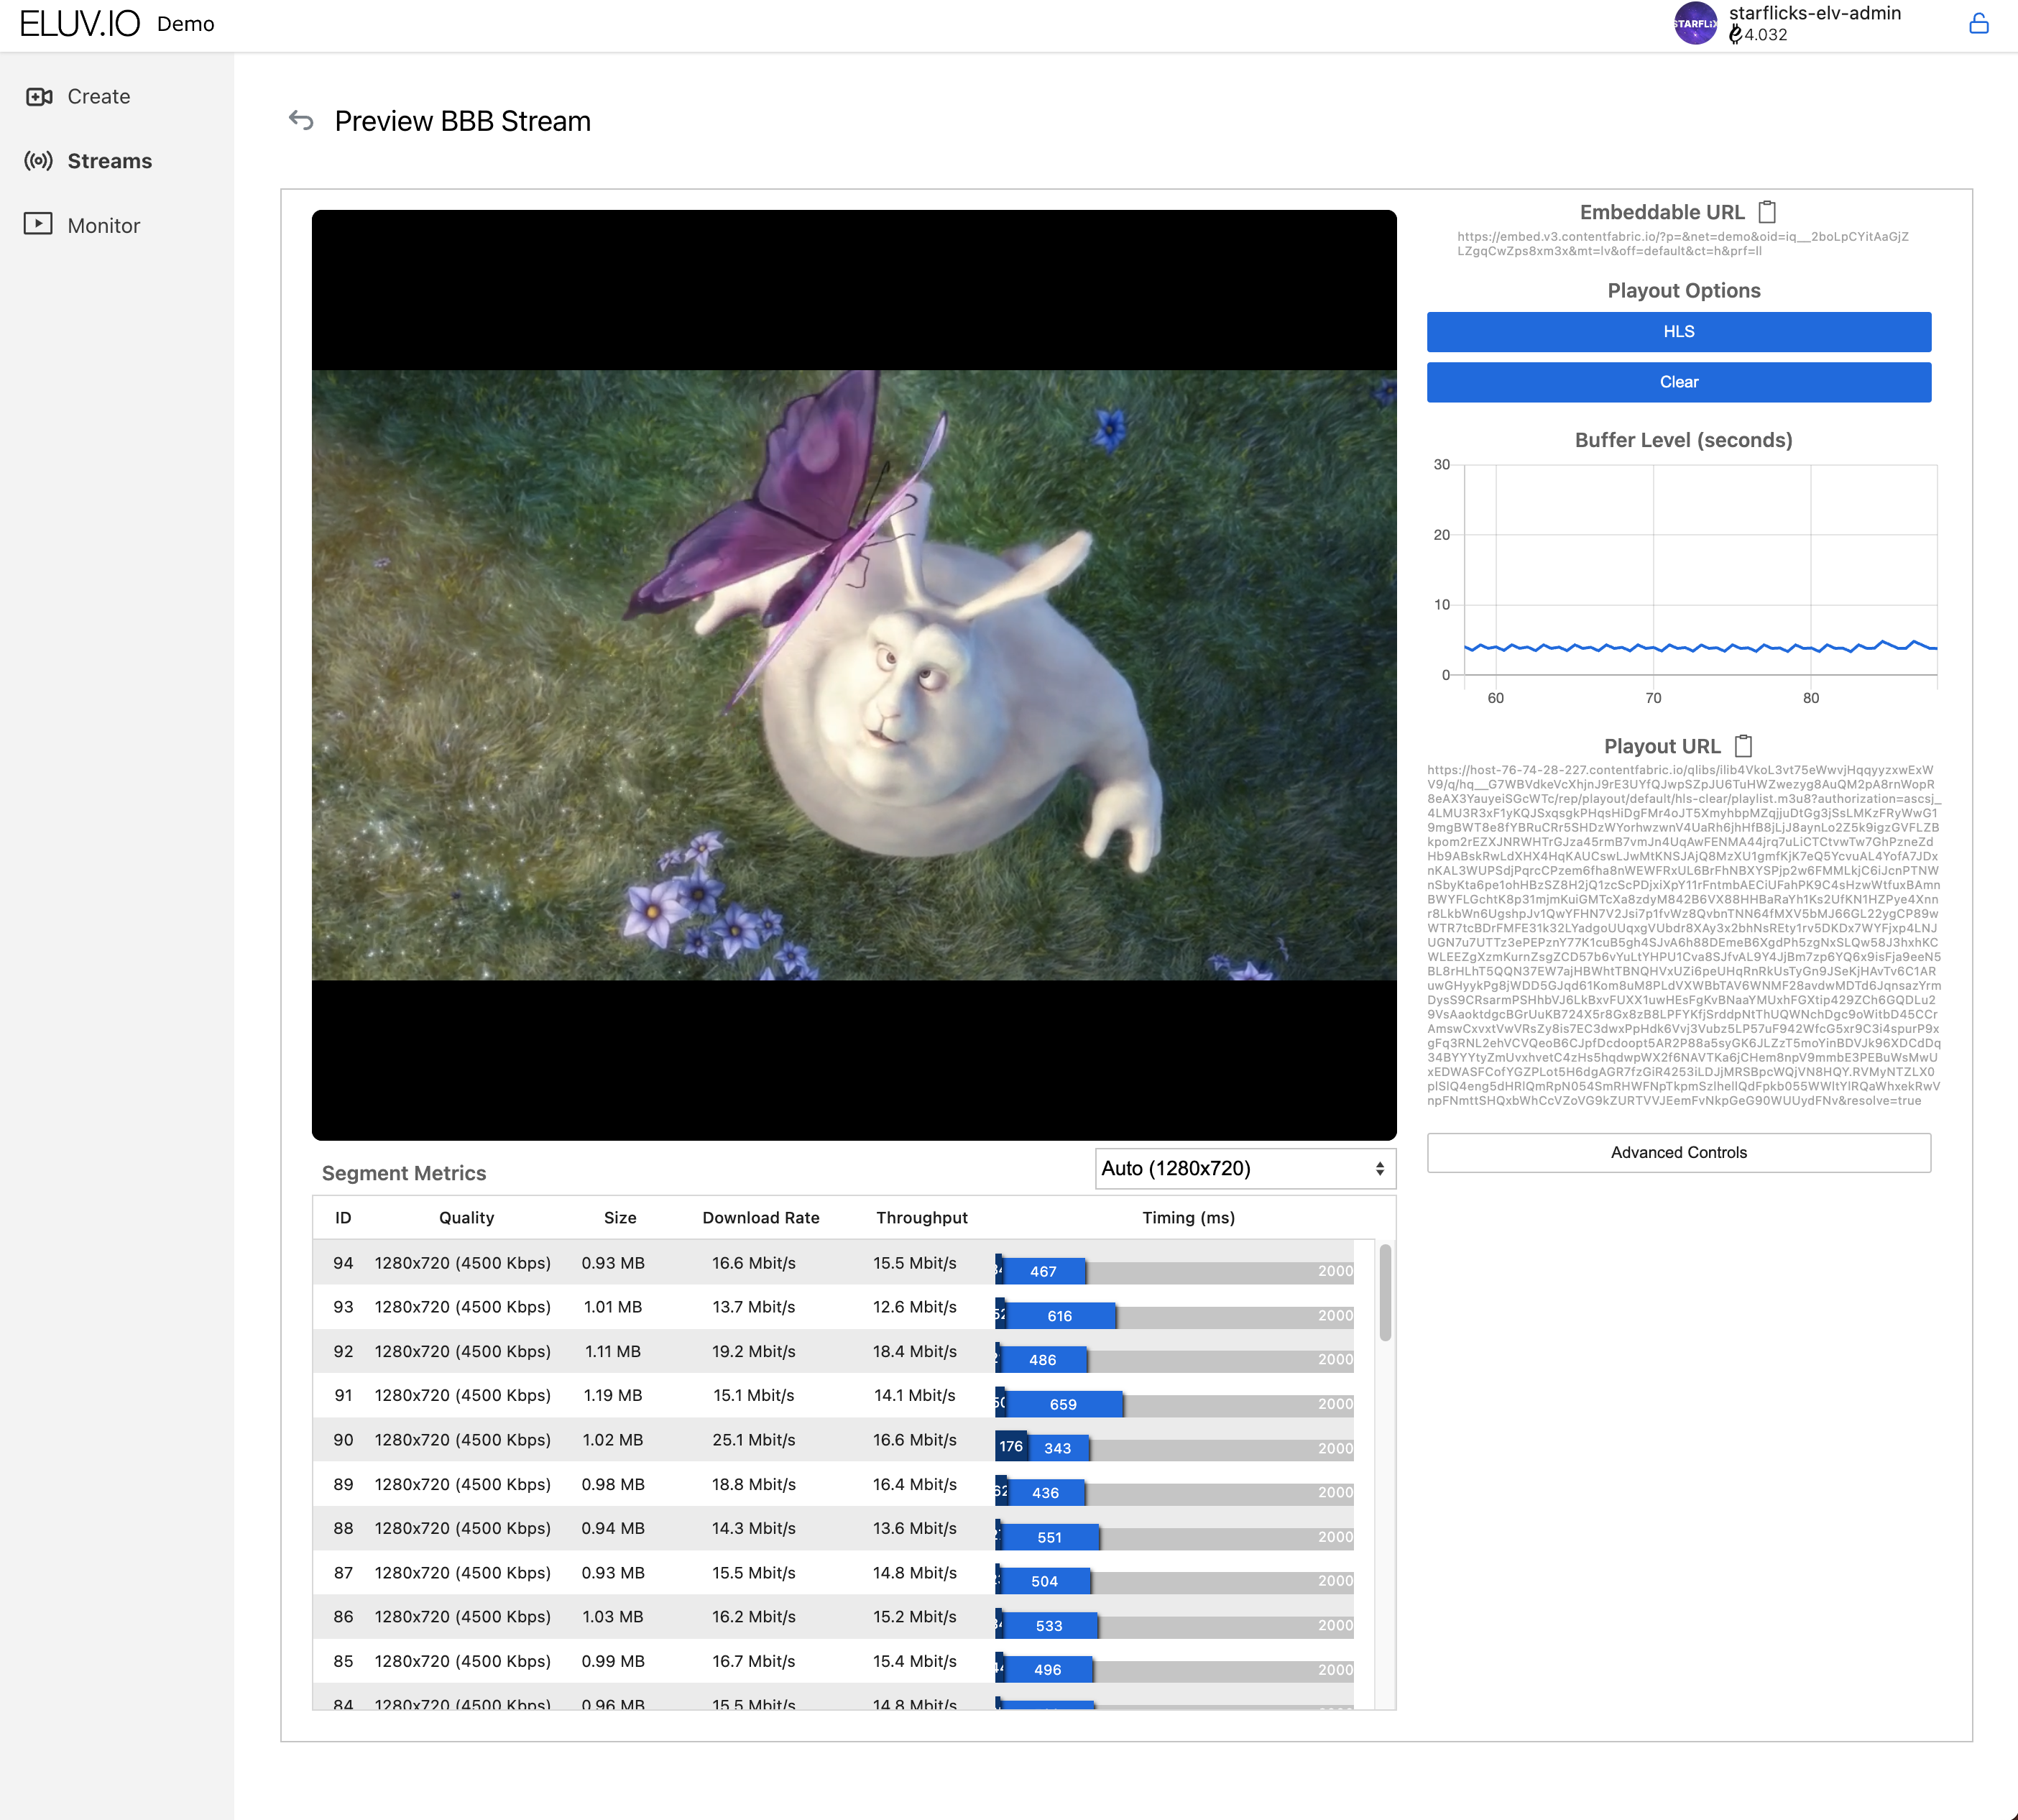
You will be taken to the stream preview with a player to view your stream. From here you can gather an embed url for sharing or direct playlist urls to plug into any player that supports HLS.